Build day 1. Objective: Clean the oil drum and cut the top off.
The guy in the garage said it would be easy to remove the top of the oil drum - "just chisel it off".

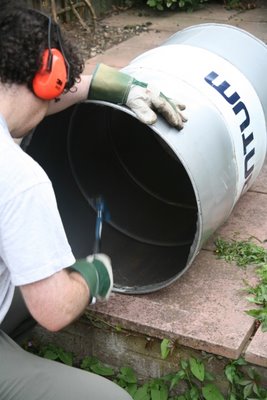
Made reasonable progress on this, although it would have been easier to hit the cold chisel and not my hand if I had a nice big club hammer.
The top came off in one piece leaving a sharp jagged each which I hammered down.
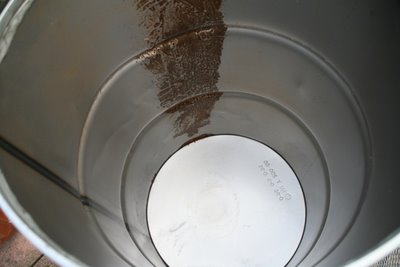
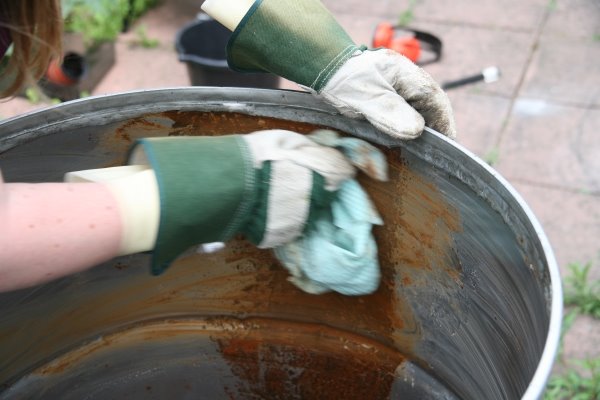
After this I hammered the oil drum back into shape where it had been dented, and then cleaned it out with (kitchen) degreaser to remove the remains of the oil. A small hole in the top of the drum has let some water in creating a rust stain. Far from ideal, but the steel is thick enough to last several years and I'm not going back to get another oil drum.

Ahh...nice clean oil drum
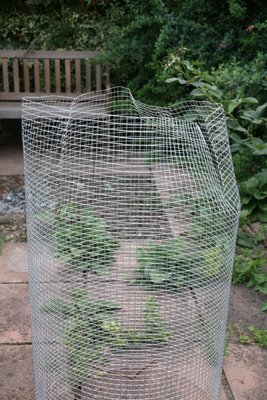
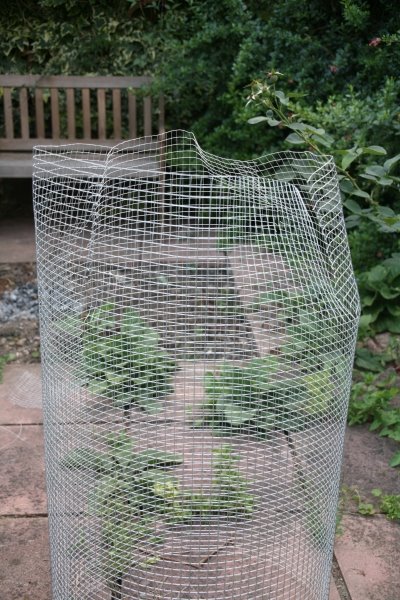
I also created a wire former to make the shape of the clay on. In the photo you can see the cuts used to let the top taper in to take a pot shape. Not sure yet if this is going to be the best approach to moulding the clay.
Tools used today
protective goggles
ear defenders
protective gloves
washing-up/latex gloves
1 steel oil drum (capacity 208 litres)
25mm cold chisel
1lb hammer
2 pints degreaser and/or detergent
Galvanised chicken wire (13mm weave)
Tin snips
Thin galvenised wire
Flat-nosed pliers
The guy in the garage said it would be easy to remove the top of the oil drum - "just chisel it off".
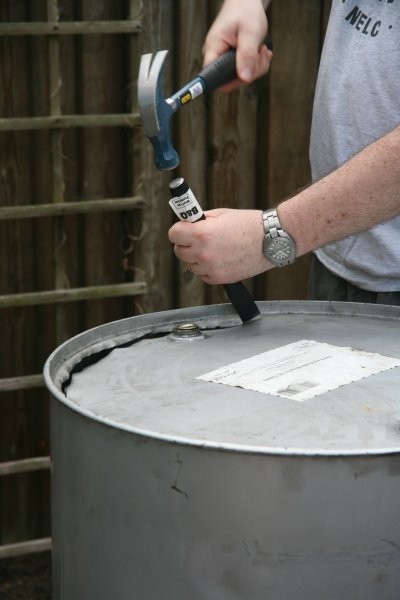
Made reasonable progress on this, although it would have been easier to hit the cold chisel and not my hand if I had a nice big club hammer.
The top came off in one piece leaving a sharp jagged each which I hammered down.

After this I hammered the oil drum back into shape where it had been dented, and then cleaned it out with (kitchen) degreaser to remove the remains of the oil. A small hole in the top of the drum has let some water in creating a rust stain. Far from ideal, but the steel is thick enough to last several years and I'm not going back to get another oil drum.
Ahh...nice clean oil drum

I also created a wire former to make the shape of the clay on. In the photo you can see the cuts used to let the top taper in to take a pot shape. Not sure yet if this is going to be the best approach to moulding the clay.
Tools used today
protective goggles
ear defenders
protective gloves
washing-up/latex gloves
1 steel oil drum (capacity 208 litres)
25mm cold chisel
1lb hammer
2 pints degreaser and/or detergent
Galvanised chicken wire (13mm weave)
Tin snips
Thin galvenised wire
Flat-nosed pliers
posted by bigbrowncow at 7:46 am
![]()

0 Comments:
Post a Comment
<< Home